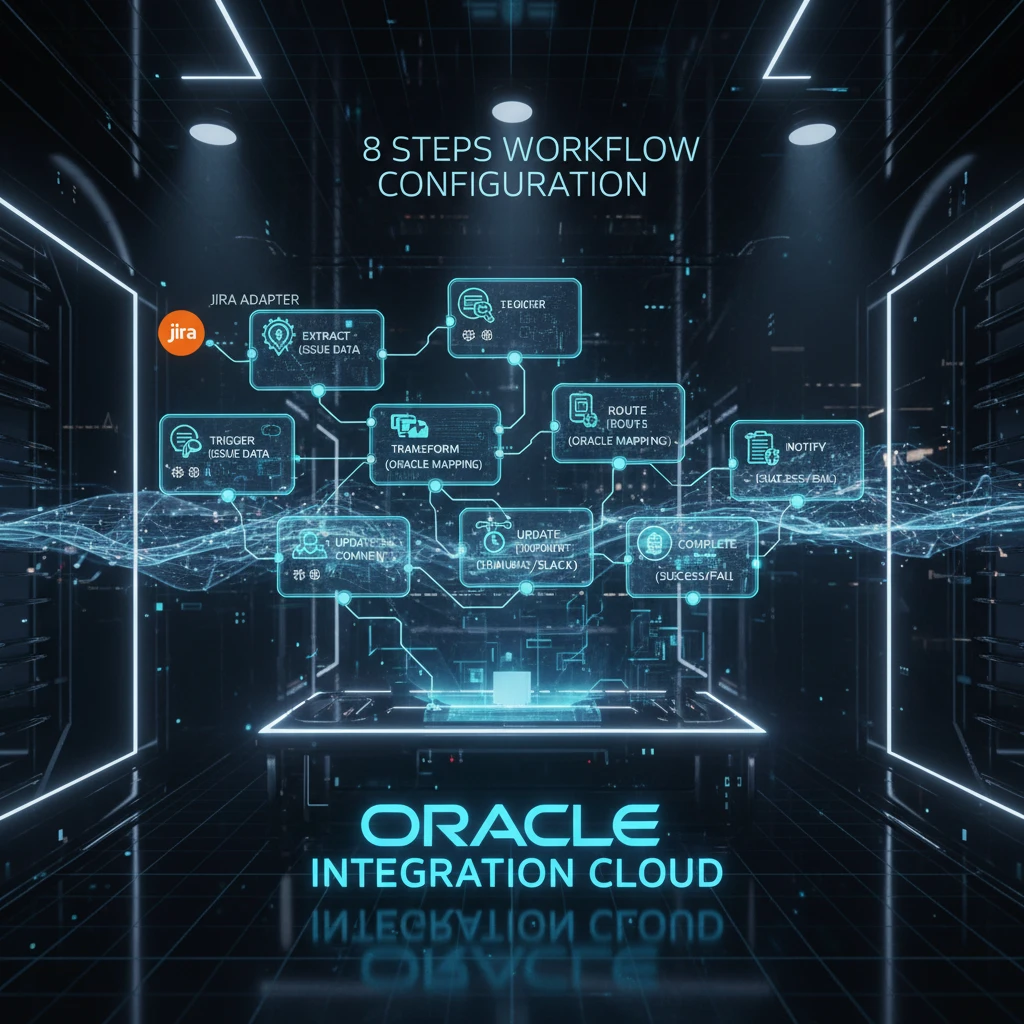
Jira Implementation is a transformative process that empowers organizations to revolutionize their project management approach. In today’s fast-paced business landscape, choosing the right project management tool and implementing it effectively can mean the difference between operational chaos and streamlined success.
Table of content
Understanding the Foundations of Jira Implementation
Successful Jira implementation is not a simple software installation but a strategic journey of aligning technology with organizational workflows, team dynamics, and business objectives. This comprehensive approach ensures that your project management system becomes a powerful engine of productivity and collaboration.
The Strategic Importance of Proper Implementation
Organizations often underestimate the complexity of implementing a robust project management tool. Jira implementation requires more than technical configuration—it demands a holistic understanding of your team’s unique processes, communication patterns, and long-term goals.
Key Preparatory Steps
Before diving into technical configurations, consider these critical preparatory steps:
- Conduct a thorough assessment of current workflow challenges
- Identify specific pain points in existing project management processes
- Gather input from team members across different departments
- Define clear objectives for your Jira implementation
- Create a realistic implementation timeline
Comprehensive Configuration Strategies
1. Project Structure and Component Management
Effective Jira implementation begins with intelligent project structuring. Components serve as critical organizational tools that help break down complex projects into manageable, trackable segments.
For a comprehensive approach, consider creating components that reflect your organizational structure or project complexity:
- Design and Creative
- Product Development
- Quality Assurance
- Marketing and Communication
- Customer Support
- Research and Innovation
Implementation best practices:
- Avoid over-complicating your component structure
- Ensure components align with actual workflow
- Allow flexibility for future modifications
- Create clear guidelines for component usage
2. Advanced Field Configuration
Field configuration represents a nuanced aspect of Jira implementation. These information capture mechanisms transform abstract project requirements into tangible, trackable elements.
Strategic field management involves:
- Designing custom fields that capture unique project metrics
- Establishing clear field requirements for different issue types
- Implementing validation rules to ensure data quality
- Creating intuitive, user-friendly field interfaces
3. Intelligent Screen Design
Screen design is often an overlooked yet crucial element of Jira implementation. Well-designed screens ensure that team members access precisely the information they need at each project stage.
Key screen design principles:
- Create context-specific views for different issue types
- Minimize cognitive load by displaying only relevant information
- Use visual hierarchy to guide user attention
- Implement role-based screen configurations
4. Workflow Optimization
Workflows represent the circulatory system of your project management approach. A well-designed workflow transforms complex processes into clear, repeatable sequences.
Advanced workflow configuration techniques:
- Design workflows that mirror actual business processes
- Implement conditional transitions
- Create validation rules for status changes
- Utilize post-functions for automated actions
- Set up triggers for seamless issue progression
User Management and Collaboration
Strategic User Onboarding
Successful Jira implementation extends beyond technical configuration to include comprehensive user management:
- Develop a structured onboarding program
- Create role-based access controls
- Provide ongoing training and support
- Establish clear communication channels
Role Definition and Permissions
Carefully define user roles to ensure:
- Appropriate access levels
- Clear responsibilities
- Accountability
- Secure information management
Continuous Improvement and Adaptation
Jira implementation is not a one-time event but an ongoing process of refinement and optimization.
Monitoring and Evaluation Strategies
- Conduct regular system audits
- Gather continuous user feedback
- Track key performance indicators
- Stay informed about new Jira features
- Remain flexible and open to modifications
Overcoming Common Implementation Challenges
Potential Roadblocks
- Resistance to change
- Insufficient training
- Overcomplicated configurations
- Lack of clear implementation strategy
Mitigation Strategies
- Communicate benefits clearly
- Provide comprehensive training
- Start with simplified configurations
- Develop a phased implementation approach
Conclusion: The Transformative Power of Strategic Implementation
Jira implementation, when executed with precision and strategic thinking, can fundamentally transform how organizations manage projects. By focusing on holistic configuration, user engagement, and continuous improvement, you create more than just a software solution—you build a dynamic ecosystem of collaboration and efficiency.
Invest time in understanding your organization’s unique needs, engage stakeholders throughout the process, and maintain a flexible, adaptive approach. Your implementation journey will evolve alongside your organization’s growing capabilities.


